In 2003 Great Oak finished construction to be the second Cohousing community in Michigan, and Ann Arbor. We are 37 households, ranging from young families to retired couples. We have about 65 adults and around 25 kids.
Cohousing is a form of collaborative housing that offers residents an old-fashioned sense of neighborhood. In cohousing, residents know their neighbors very well, and there is a strong sense of community that is absent in contemporary cities and suburbs.
Cohousing communities consist of private, fully-equipped condominiums and extensive common amenities including a community building (or “common house”) and recreation areas. They are designed and managed by the residents who have chosen to live in a close-knit neighborhood that seeks a heathy blend of privacy and community.
Tours
Tours of the three Ann Arbor Cohousing communities are held on Sundays at 2pm or by appointment. Join us Sundays at 2pm starting at our neighboring community, Touchstone Cohousing, at 560 Little Lake Dr, Ann Arbor. Tours will include information and discussion about cohousing, followed by a walking tour of all three communities (Sunward, Great Oak and Touchstone). Tours usually are 1 1/2 – 2 hrs in length. Contact tours@touchstonecohousing.org or call 734-274-9110 for more information.
Virtual / online tours are also available.
What does Great Oak Cohousing offer?
- Thirty-seven individually-owned, complete condominiums with 2, 3, and 4 bedrooms
- Ecologically-sensitive building and site design that preserves the land’s natural beauty
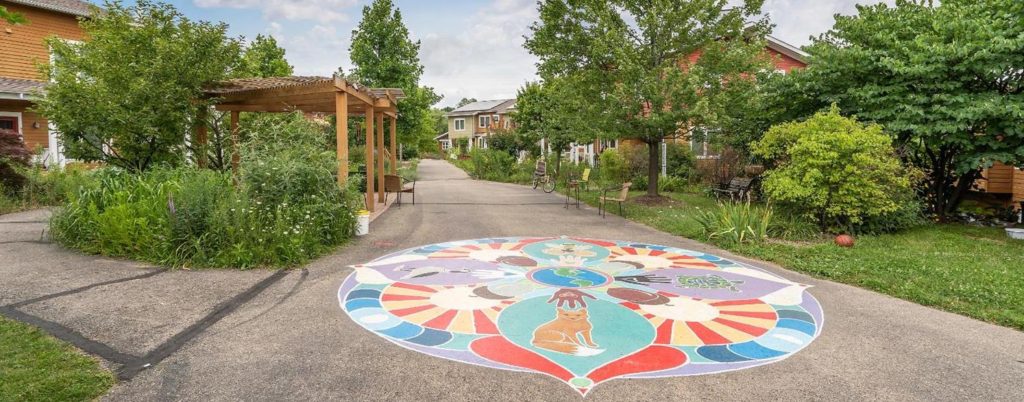
- An intergenerational, friendly atmosphere that is safe for children and conducive to visiting with neighbors
- A large community building, called a common house, for optional shared meals and other activities
- Scio Township location, fewer than ten minutes from downtown Ann Arbor, with city water and sewer
- Located in the Ann Arbor School District (elementary: Haisley, middle school: Forsythe, and high school: Skyline), with various private and charter schools to choose from.
- And much much more. Please explore the site to learn more…